1. Why Display Database Widgets in Your Custom Reports?
Database widgets allow your forms to interact with your databases.
- Creation Widget: Enables your operator to create resources.
- Manual Selection, Automatic Selection, and Pre-selection Widgets: Display existing resources for your operator.
Using the tags from the Creation, Automatic Selection, and Manual Selection widgets, you can retrieve resource data in your reports.
A custom report allows you to create intervention reports with your company's branding. Thus, you can collect data about resources from your interventions within your reports.
2. How Are Tags for Database Widgets Different?
Tags for database widget content must be placed between a ##repeat_section:start## tag and a ##repeat_section:end## tag.
Since the Creation, Automatic Selection, and Manual Selection widgets allow you to display multiple resources, the different resources must be displayed accordingly.
Example:
- Creation Widget Tag: ##asset_reference##
- Text Widget Tag: ##ref_task## within the Creation Widget
Tags should be placed in the following order in the custom report:
- ##asset_reference:start##
- ##ref_task##
- ##asset_reference:end##
The "start" and "end" tags should only be entered once. Everything between these two tags will be repeated for each resource.
You can place as many tags as you want between the start and end tags. In your form, these tags must correspond to widgets within the Creation widget.
3. How to Display the Content of a Creation Widget in a Custom Report?
Context: Imagine a company reporting anomalies on a construction site. Each anomaly encountered must be reported and described by the operator.
In Ermeo, we will use:
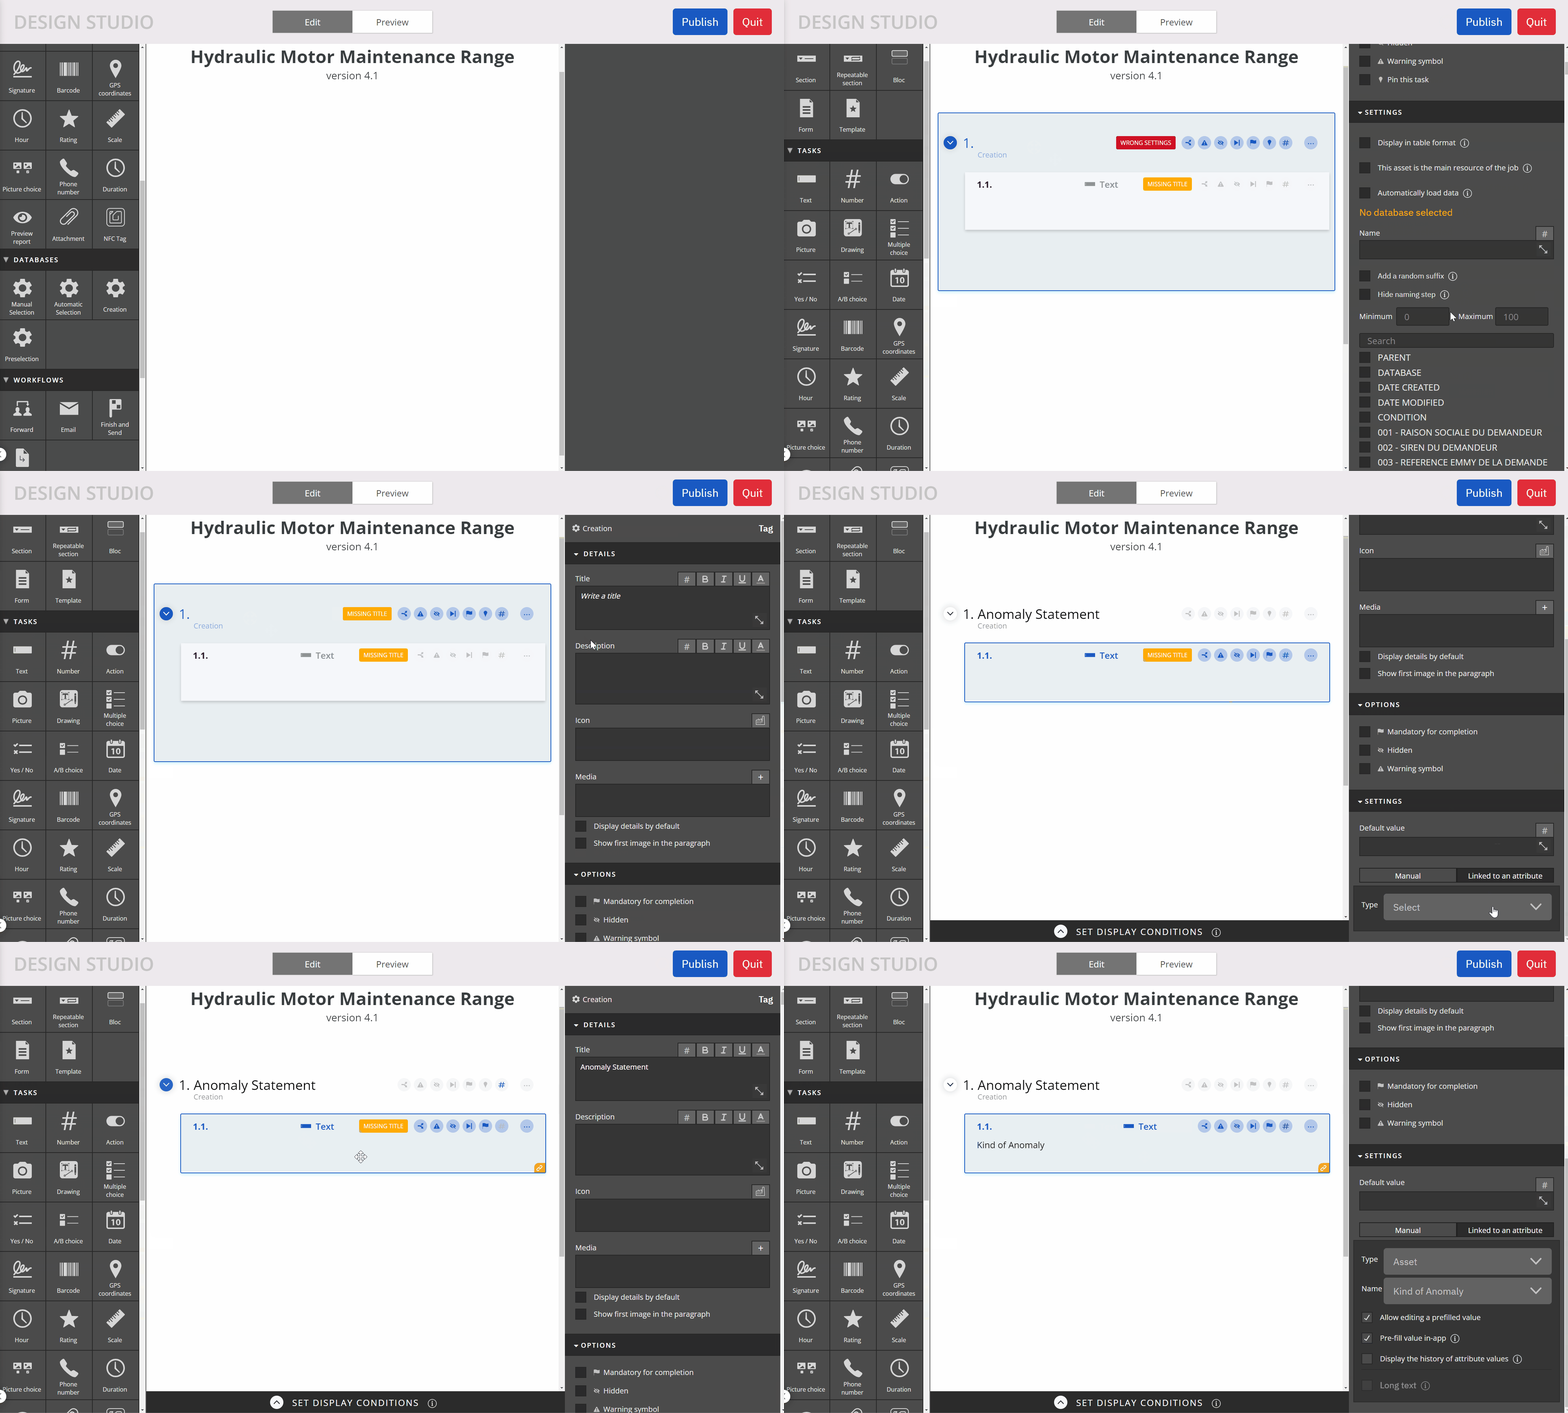
- A Creation widget to allow the operator to report anomalies within an Anomalies database.
- A Text widget within the Creation widget for the operator to explicitly describe the encountered anomaly, linked to an attribute named "Anomaly Description."
- In a form, drag and drop a Creation widget. Name it "Report an Anomaly" and choose the Anomalies database in the settings.
- Within the Creation widget, drag and drop a Text widget. Name it "Anomaly Description." Link this widget to the "Anomaly Description" attribute.

- Publish the form and open your custom report template.
- Copy and paste the tag of the Creation widget into your custom report.
- Add
:startat the end of the tag. - Copy this tag and paste it further down in your report. Replace
:startwith:end. - Between the start and end tags, copy and paste the tag of the Anomaly Description widget.

Follow this structure:
- ##asset_reference:start## // Tag representing the start of the Creation widget
- ##ref_task## // Tag representing the Text widget
- ##asset_reference:end## // Tag representing the end of the Creation widget
- Import your custom report template.
- Perform an intervention by reporting two anomalies.
- Export the report of the completed intervention. Both anomalies should appear in the custom report.